
Sun Catcher
Each year I make these sun catchers for the festive season- and I love that they continue looking amazing the whole month. They are also a fun craft to do with kids as who doesn’t love picking flowers and glueing?
Cut into the shape of the Sun or Star (or any shape!), the leaves and flowers create the most stunning designs and colours when the light shines through them. As you can make them any shape, they are a versatile decoration that fit both for Summer Solstice celebrations and holiday season decor.
This activity only requires items that you’ll probably have around the house as well as a few plants. A great opportunity to take a summer walk and explore your ‘naturehood’, maybe even getting to know a local native plant or flower. As always when picking native plants: always harvest any plant responsibly, leaving wildflowers to flourish, only taking a small amount and never from places where there are signs stating plants must be left to flourish.
What you will need:
Plants (leaves and flowers), you won’t need many plants for this activity.
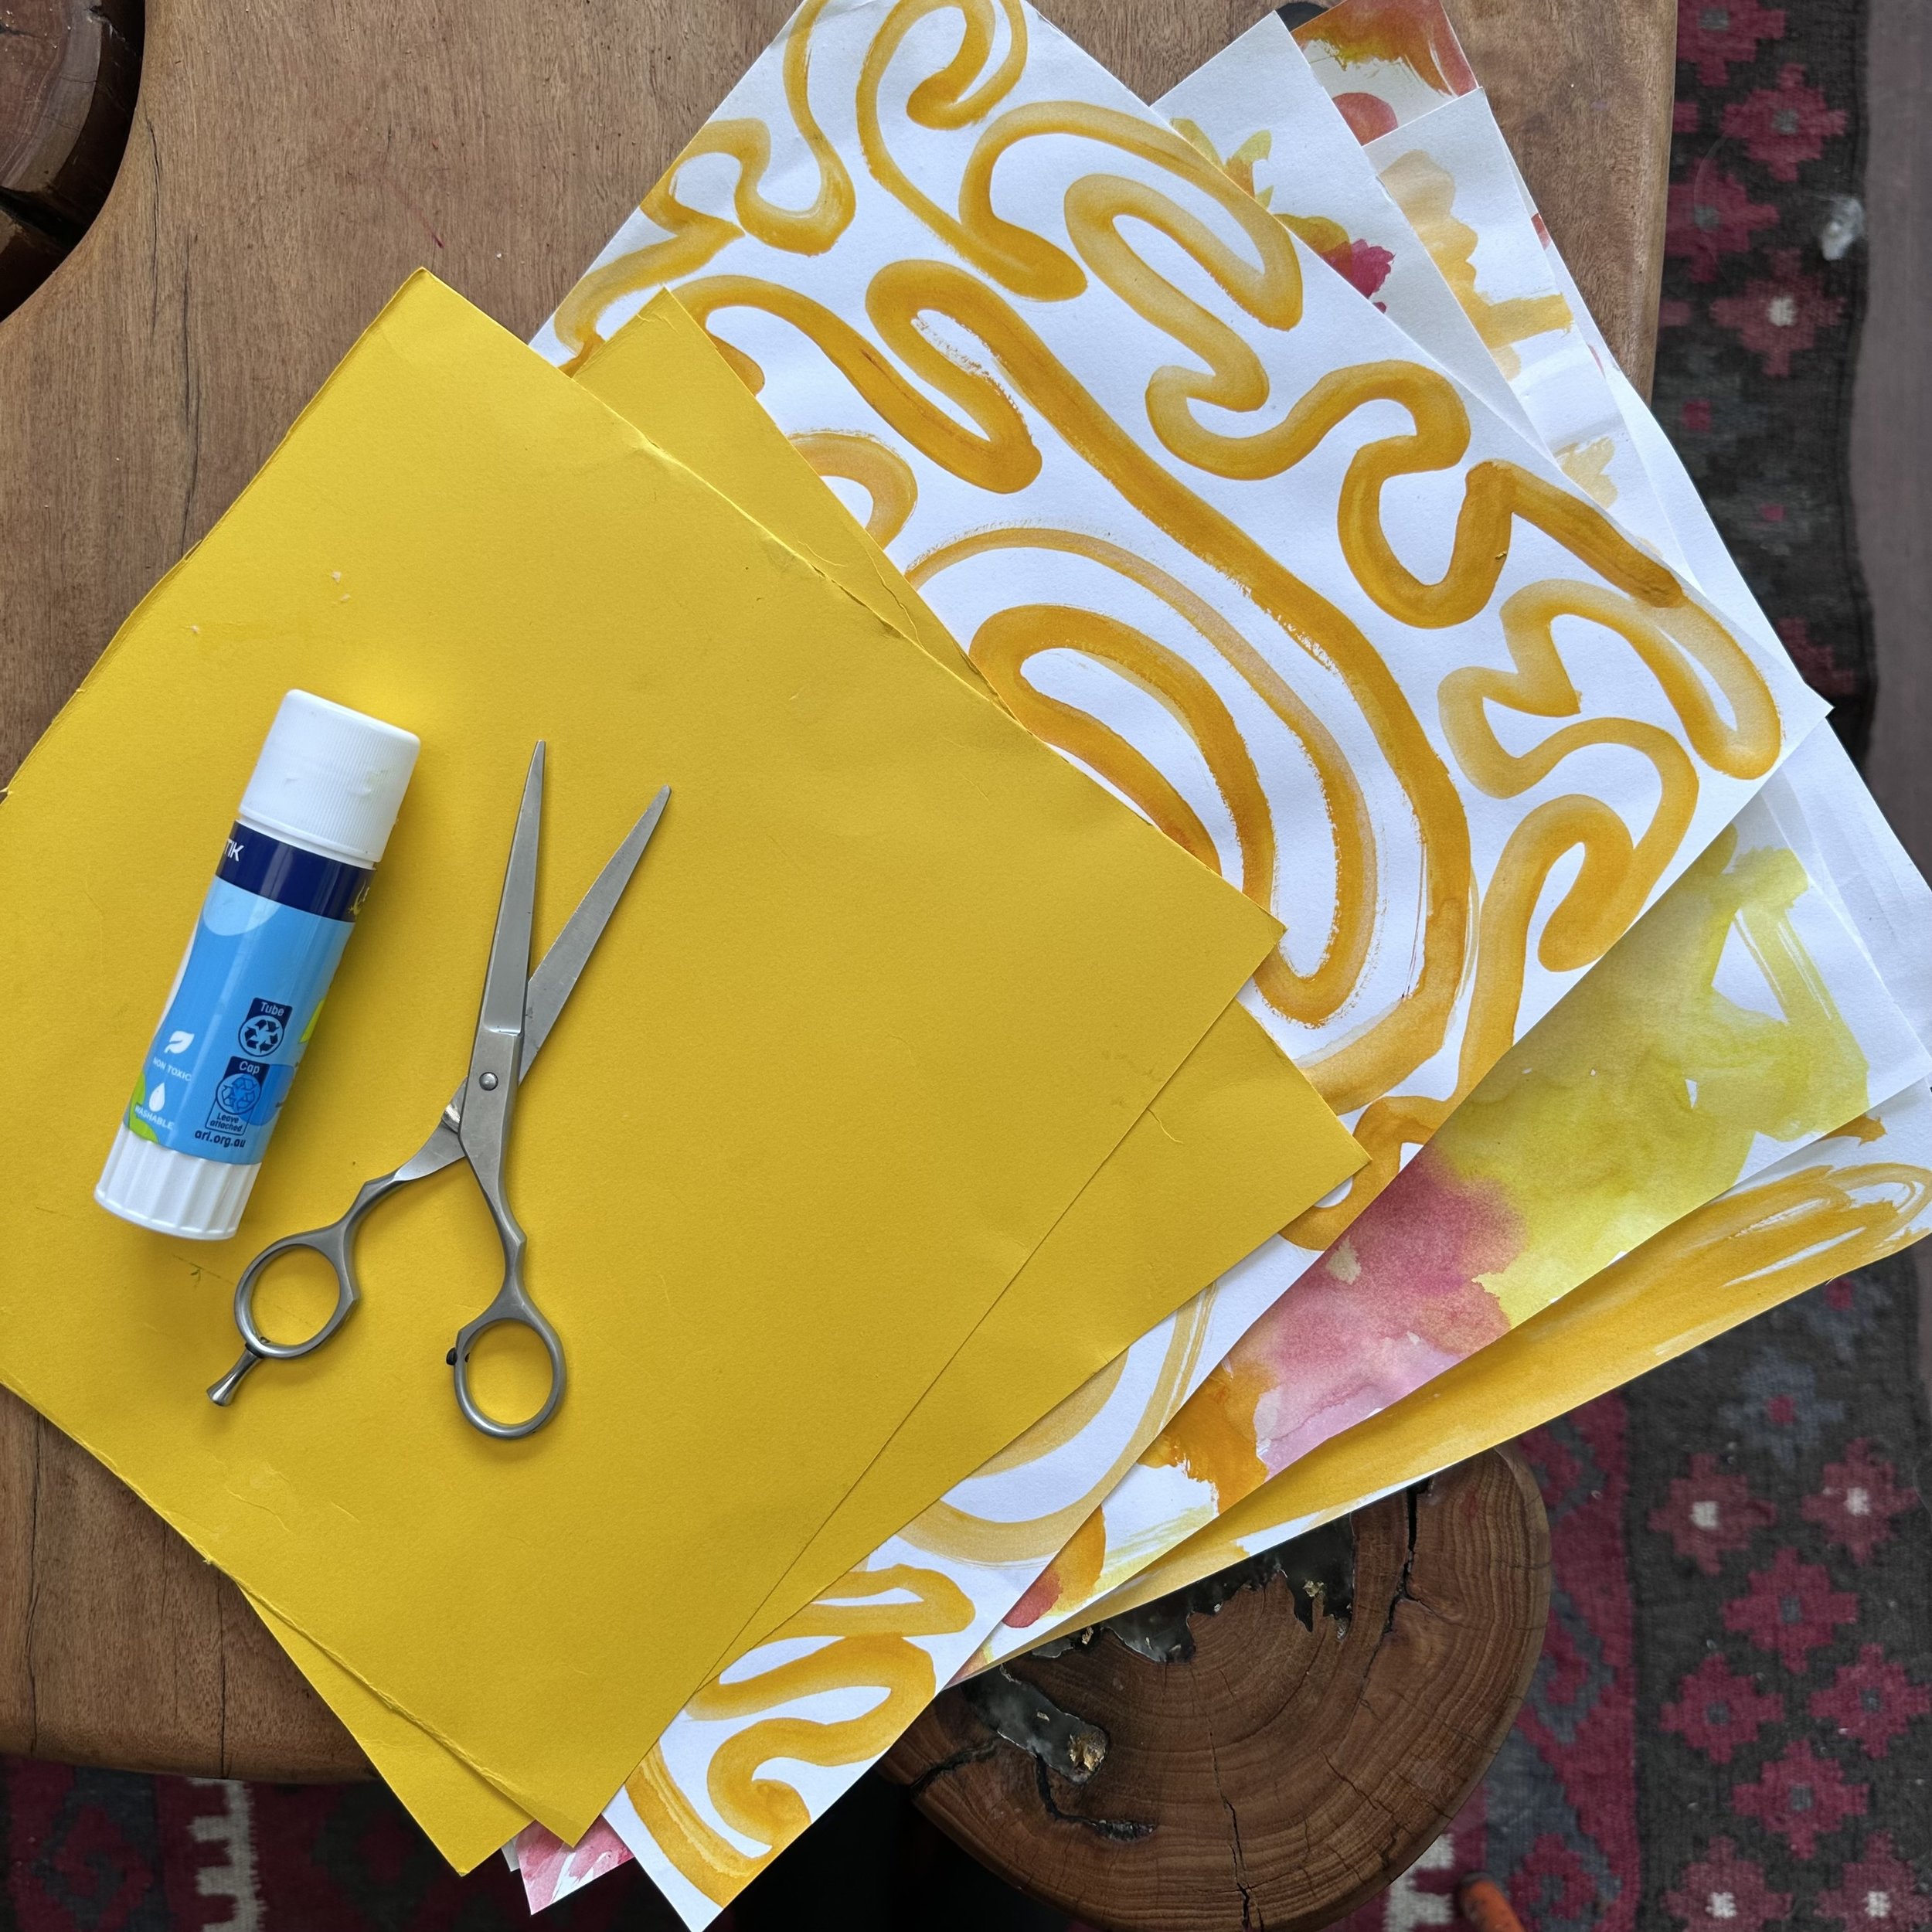
Yellow card paper or thicker paper. You can also paint or draw on plain paper rather than purchasing yellow paper. Get creative!
Scissors
pen or pencil
Glue
Clear or white baking paper or tissue paper
Something round such as a bowl to trace a circle. A sun template is attached below if you prefer to print, cut and then trace it.
Let’s get going!
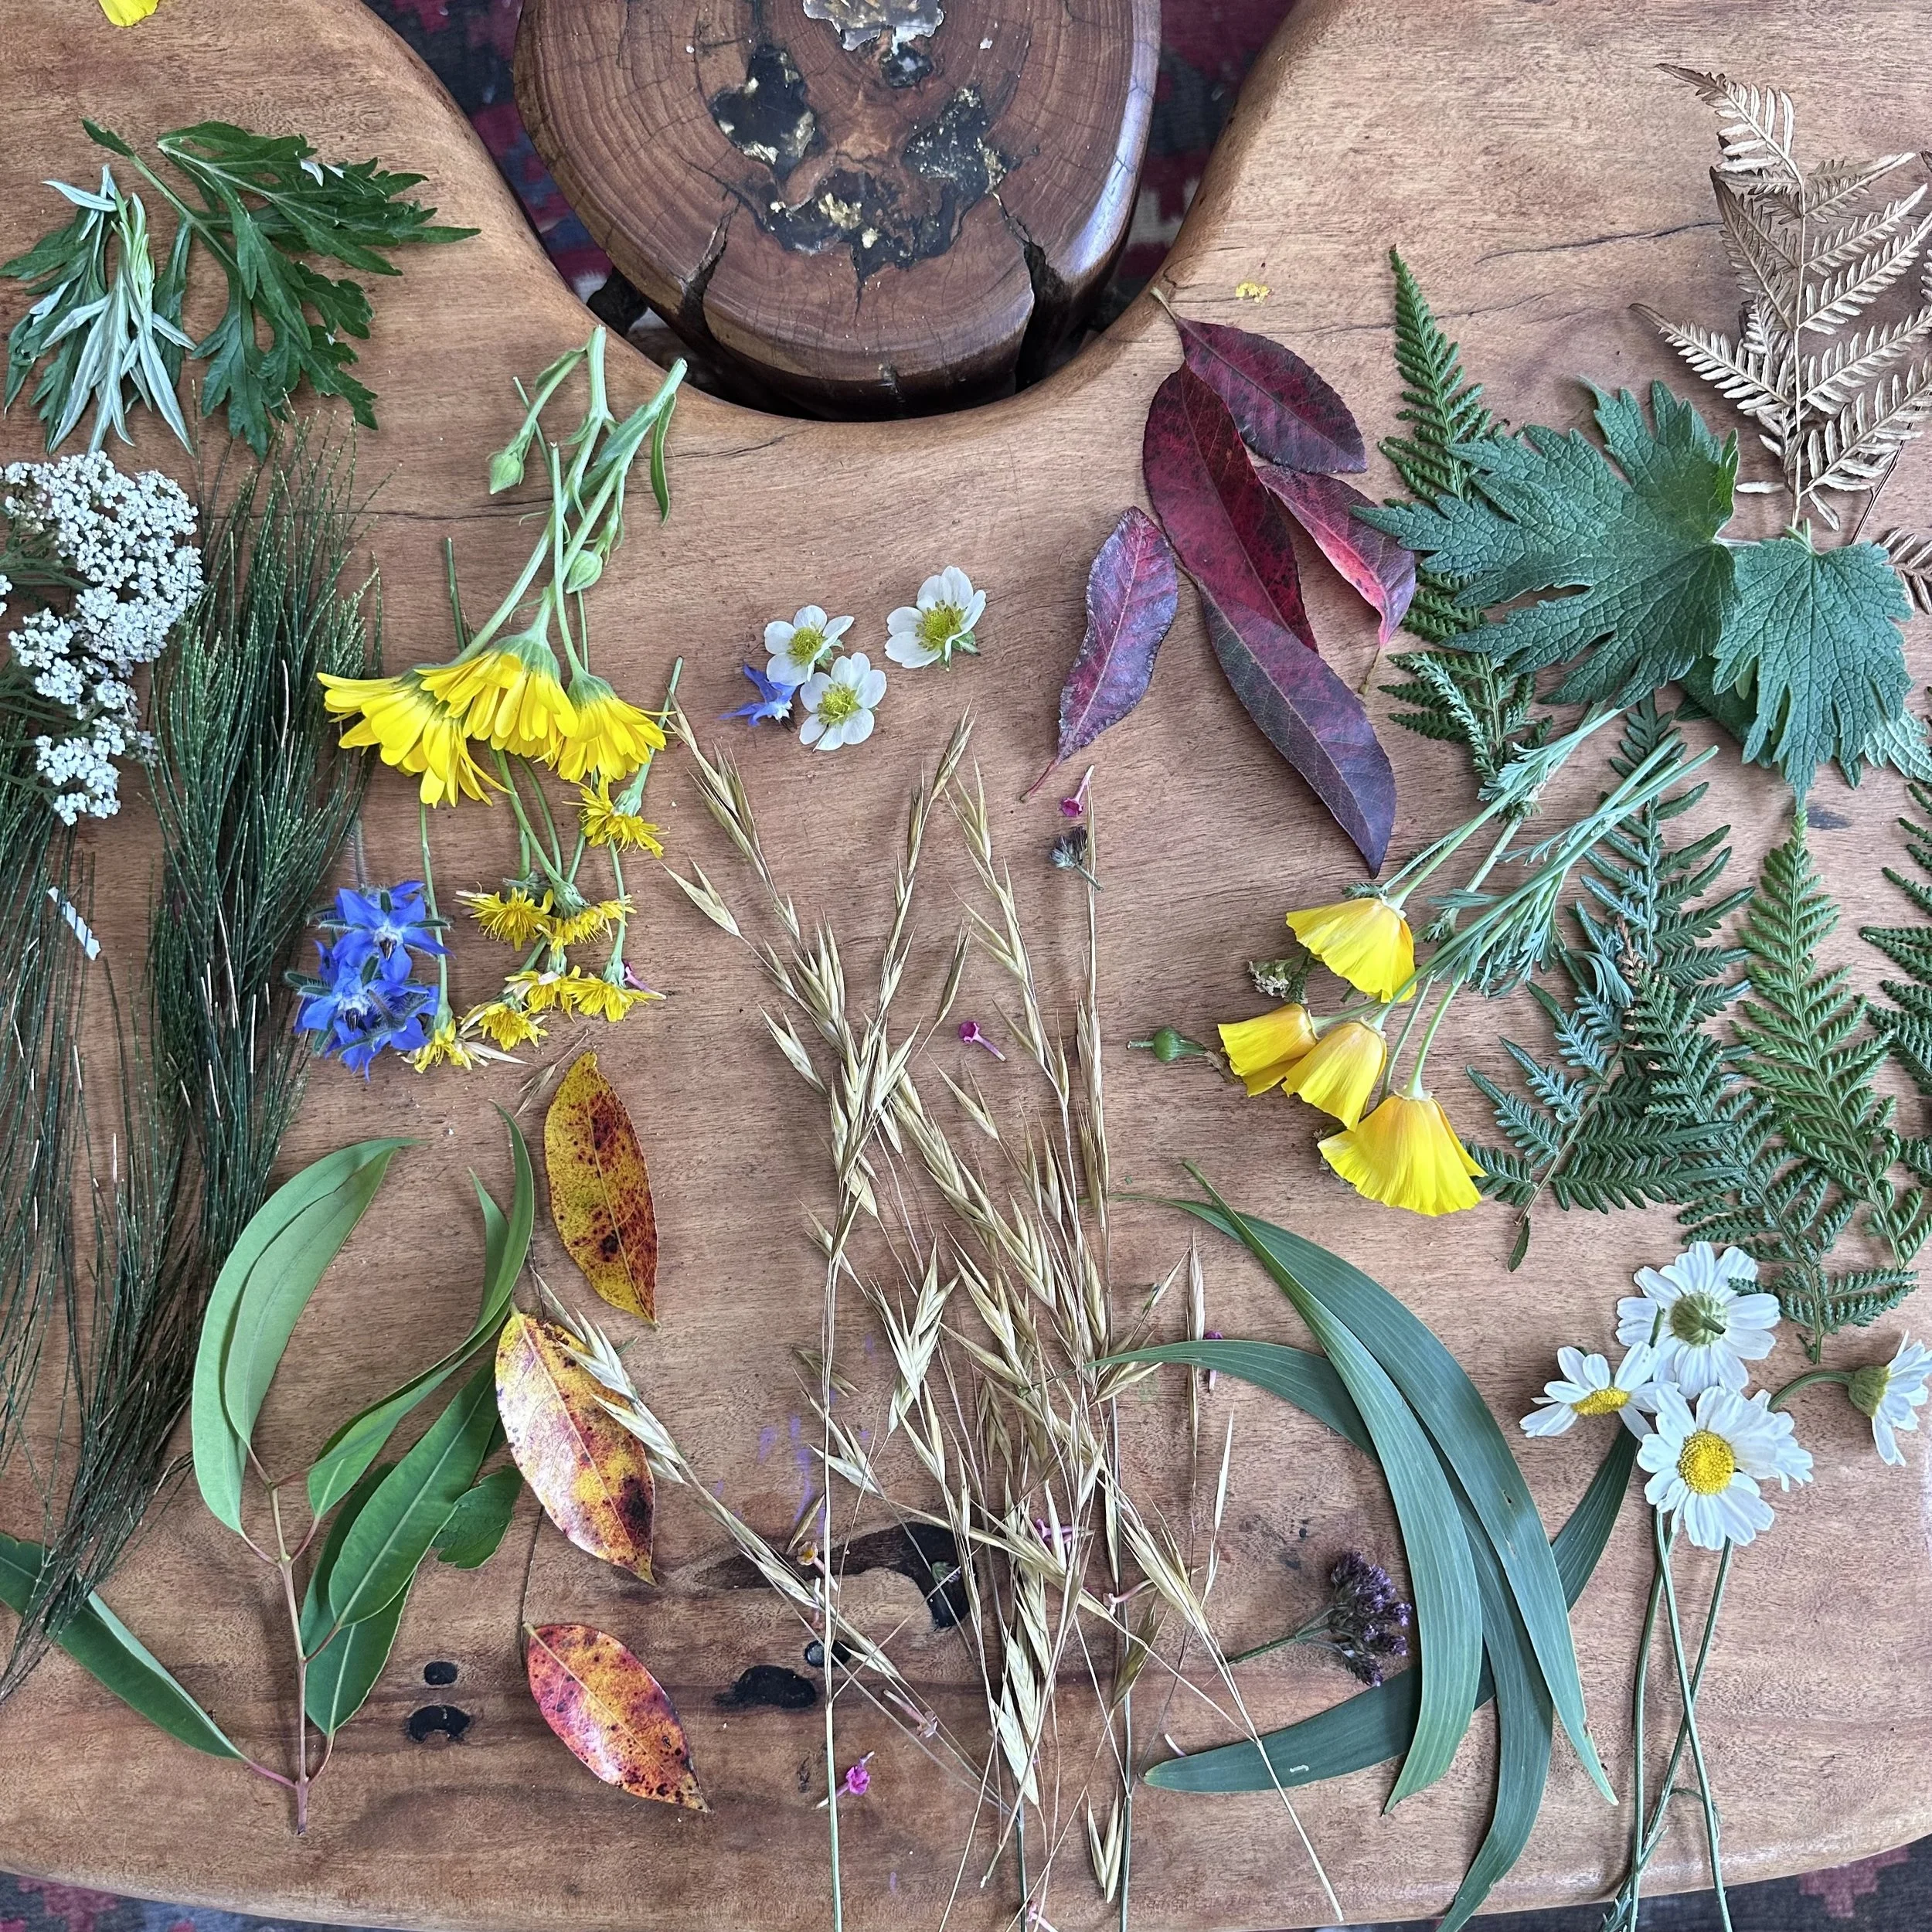

To begin, take a walk or head into your garden and pick a few leaves and flowers. Try to find plants with different textures, shapes and colours so that you can have fun creating different designs. You won’t need many plants, only a few leaves or flowers per sun. See if you can identify any native plants as you wander.
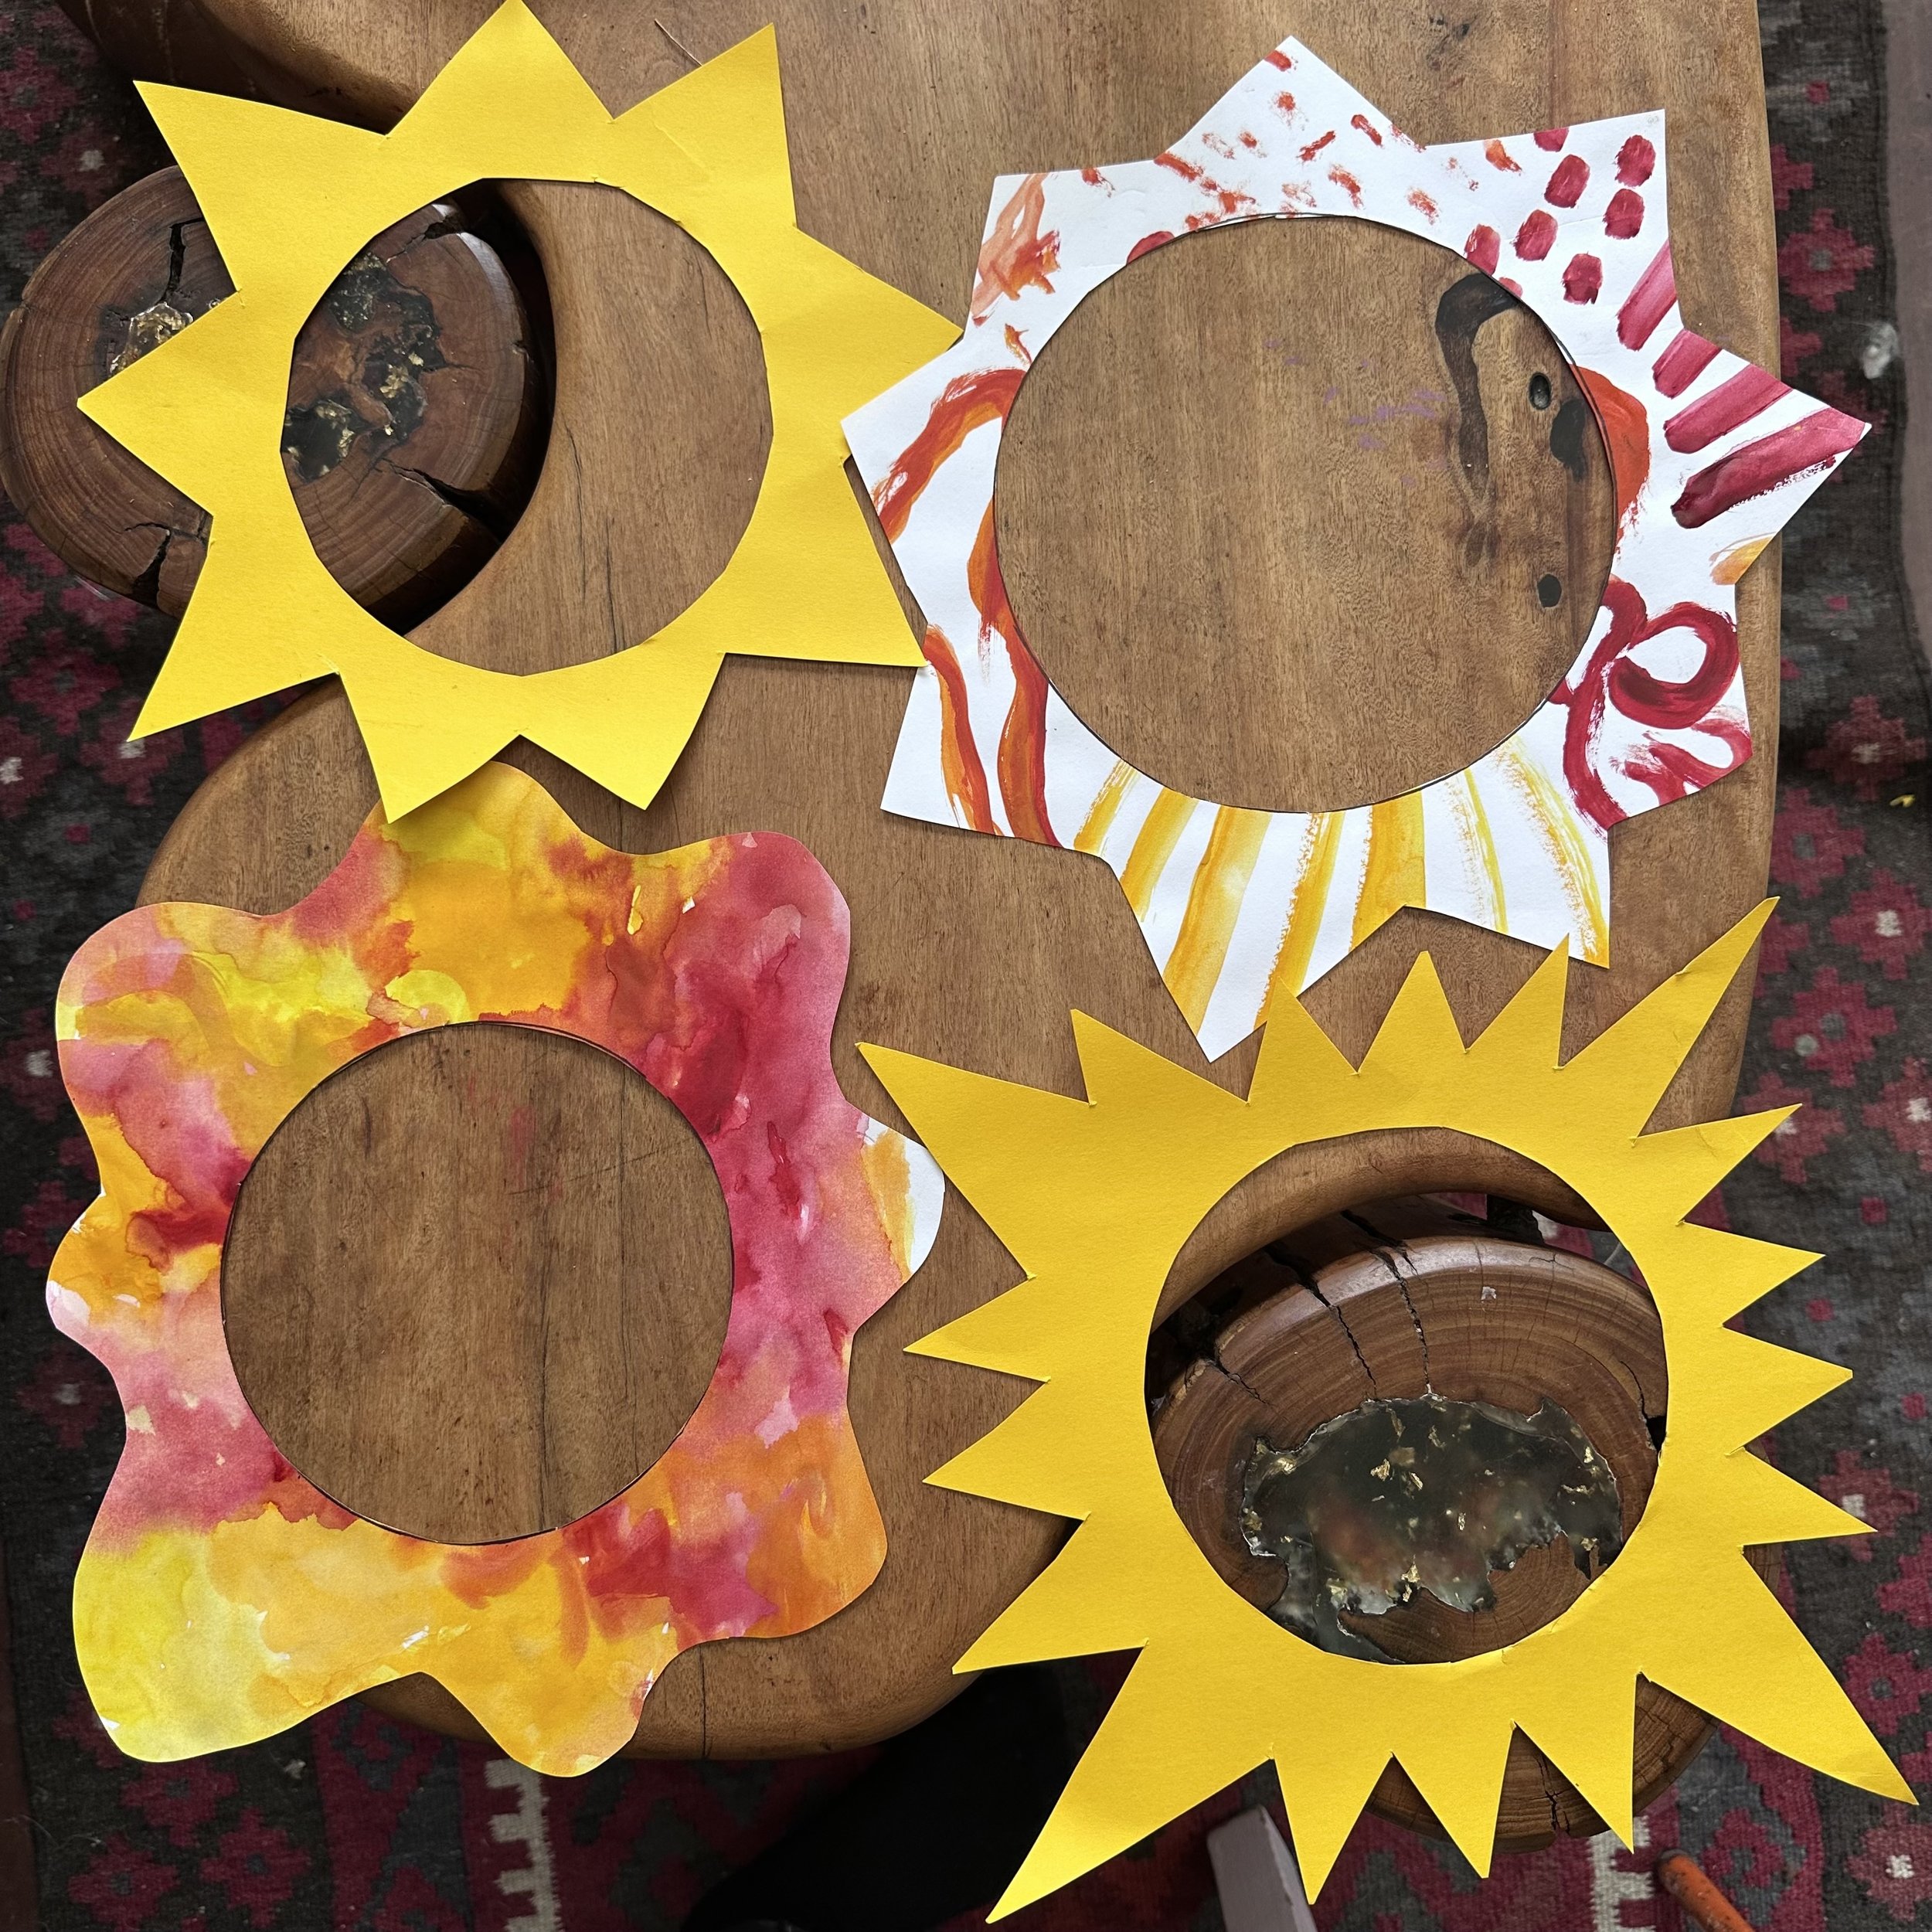
Now, if your paper is white it is best to paint or colour it before you cut out your sun shape. My kids and I had lots of fun making squiggly lines and dots (see image 5). It is time to cut out your Sun or Star!
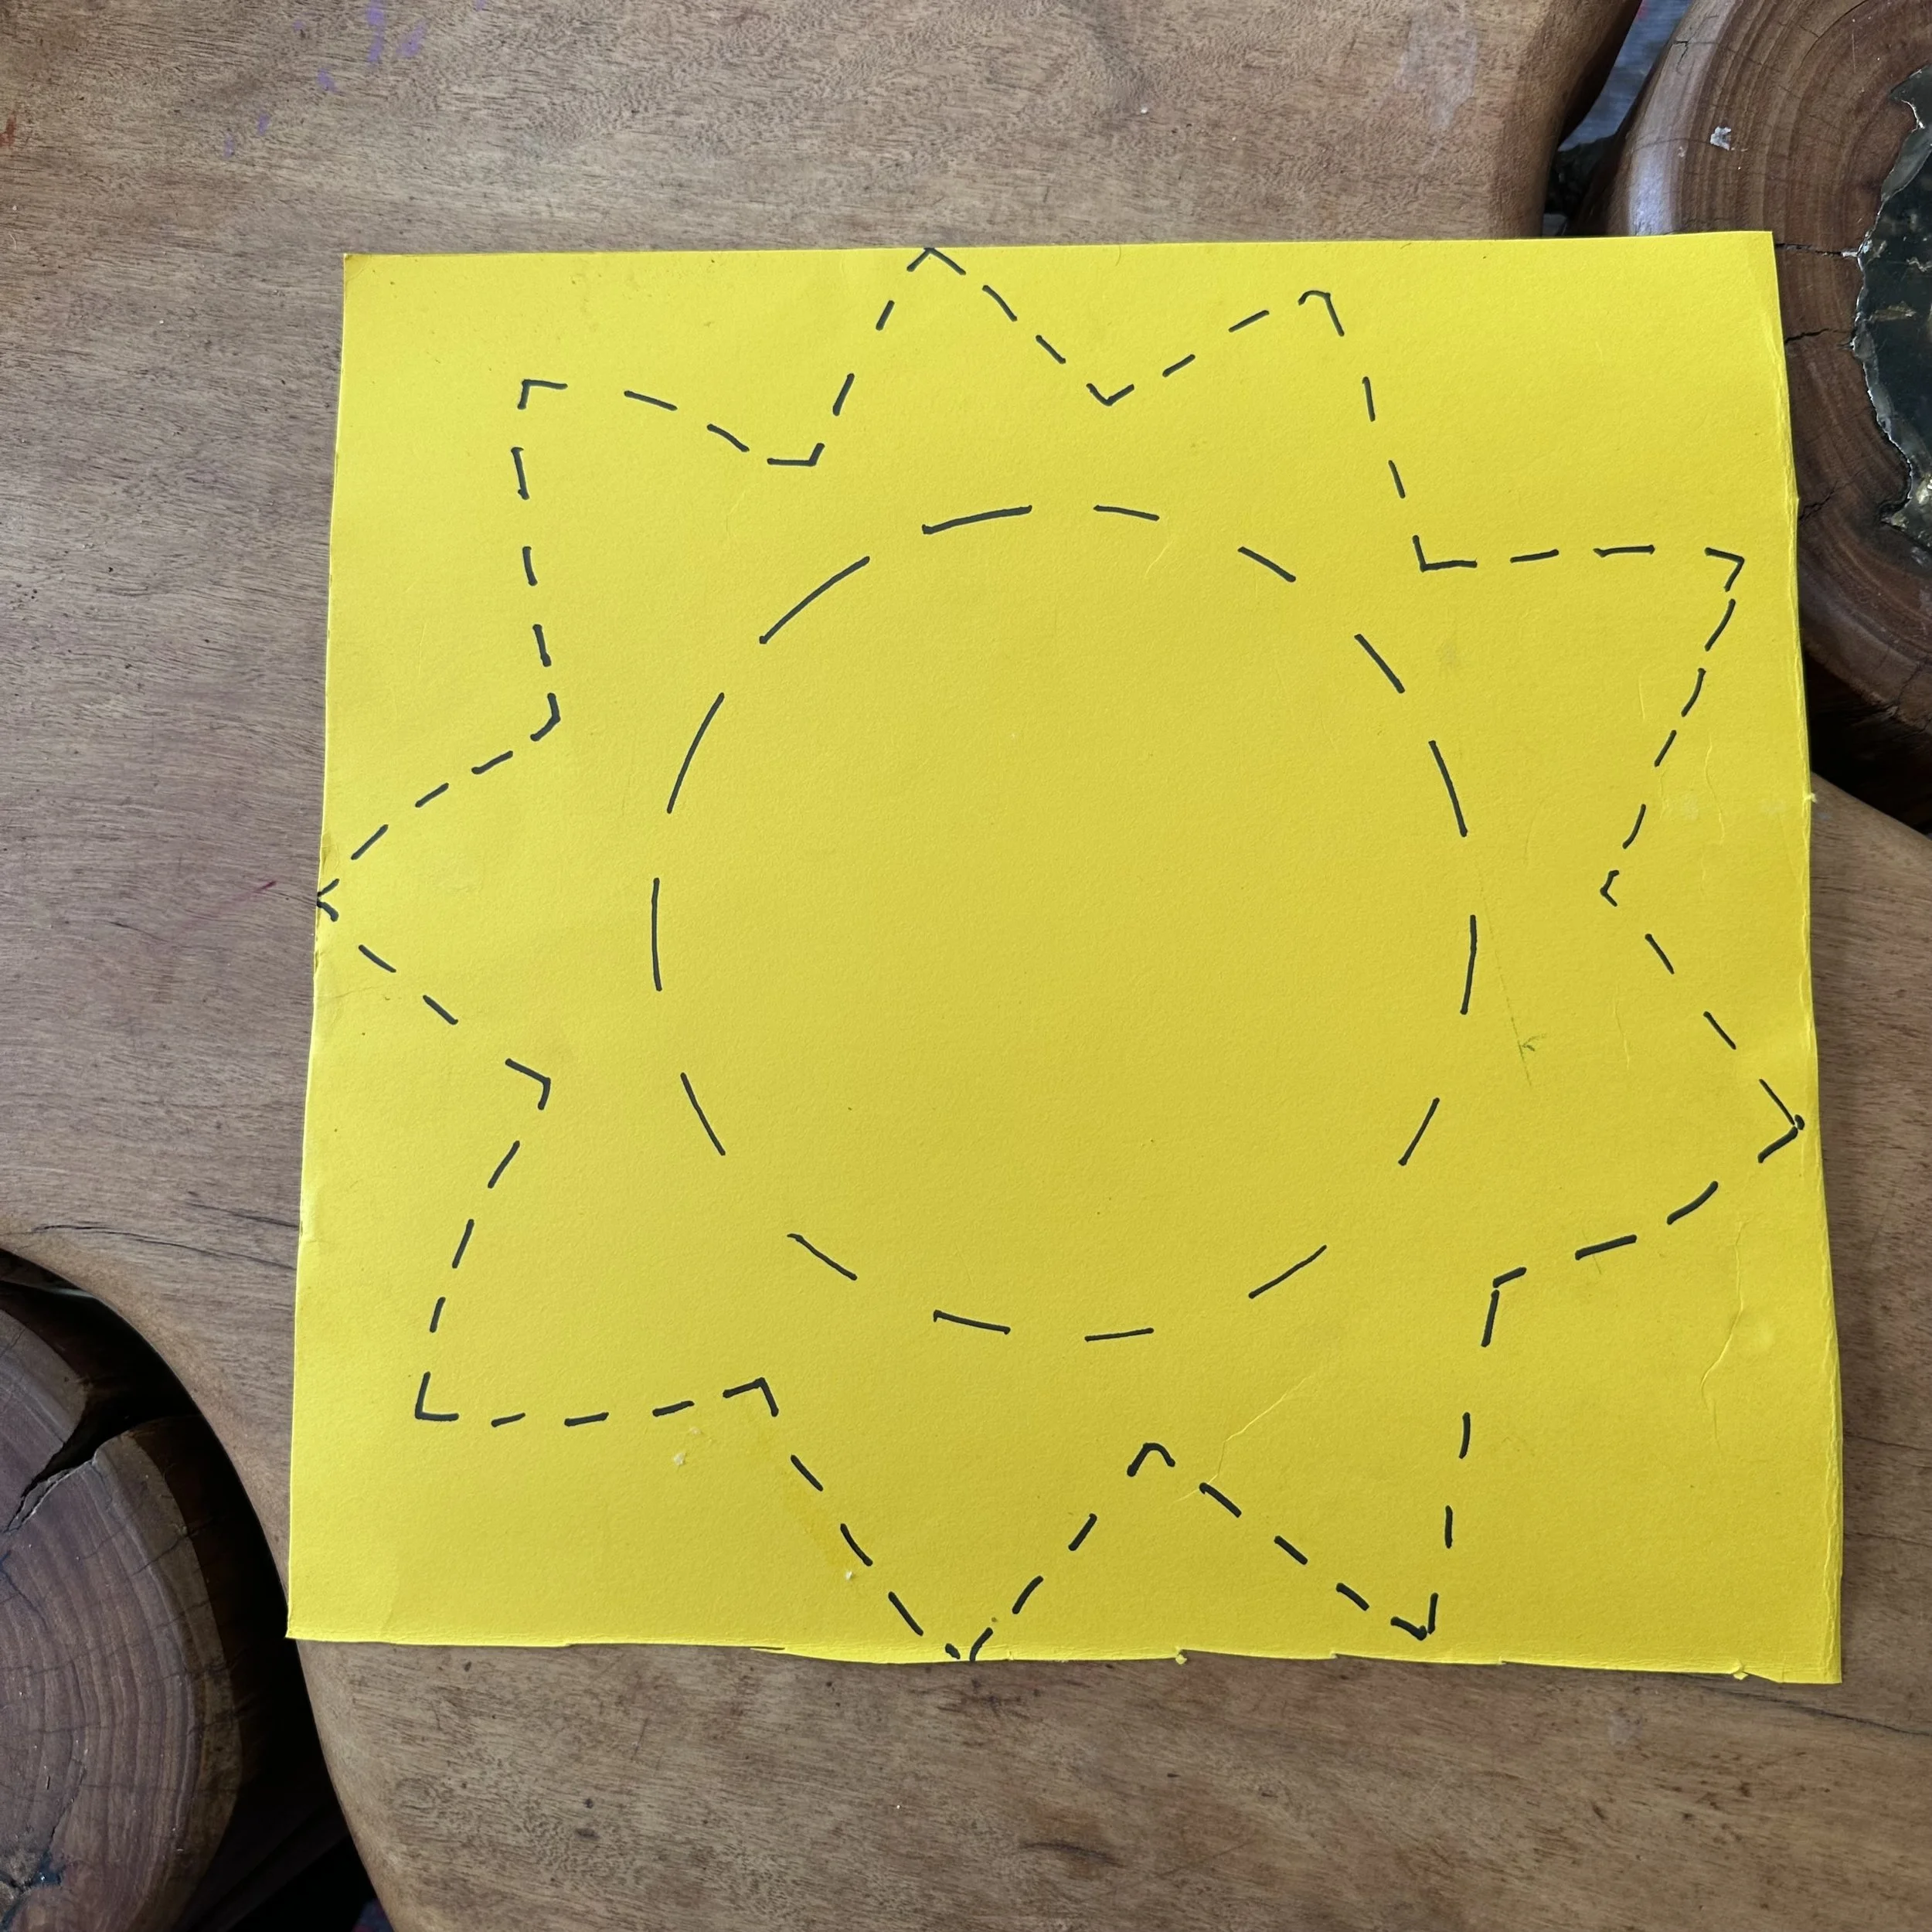
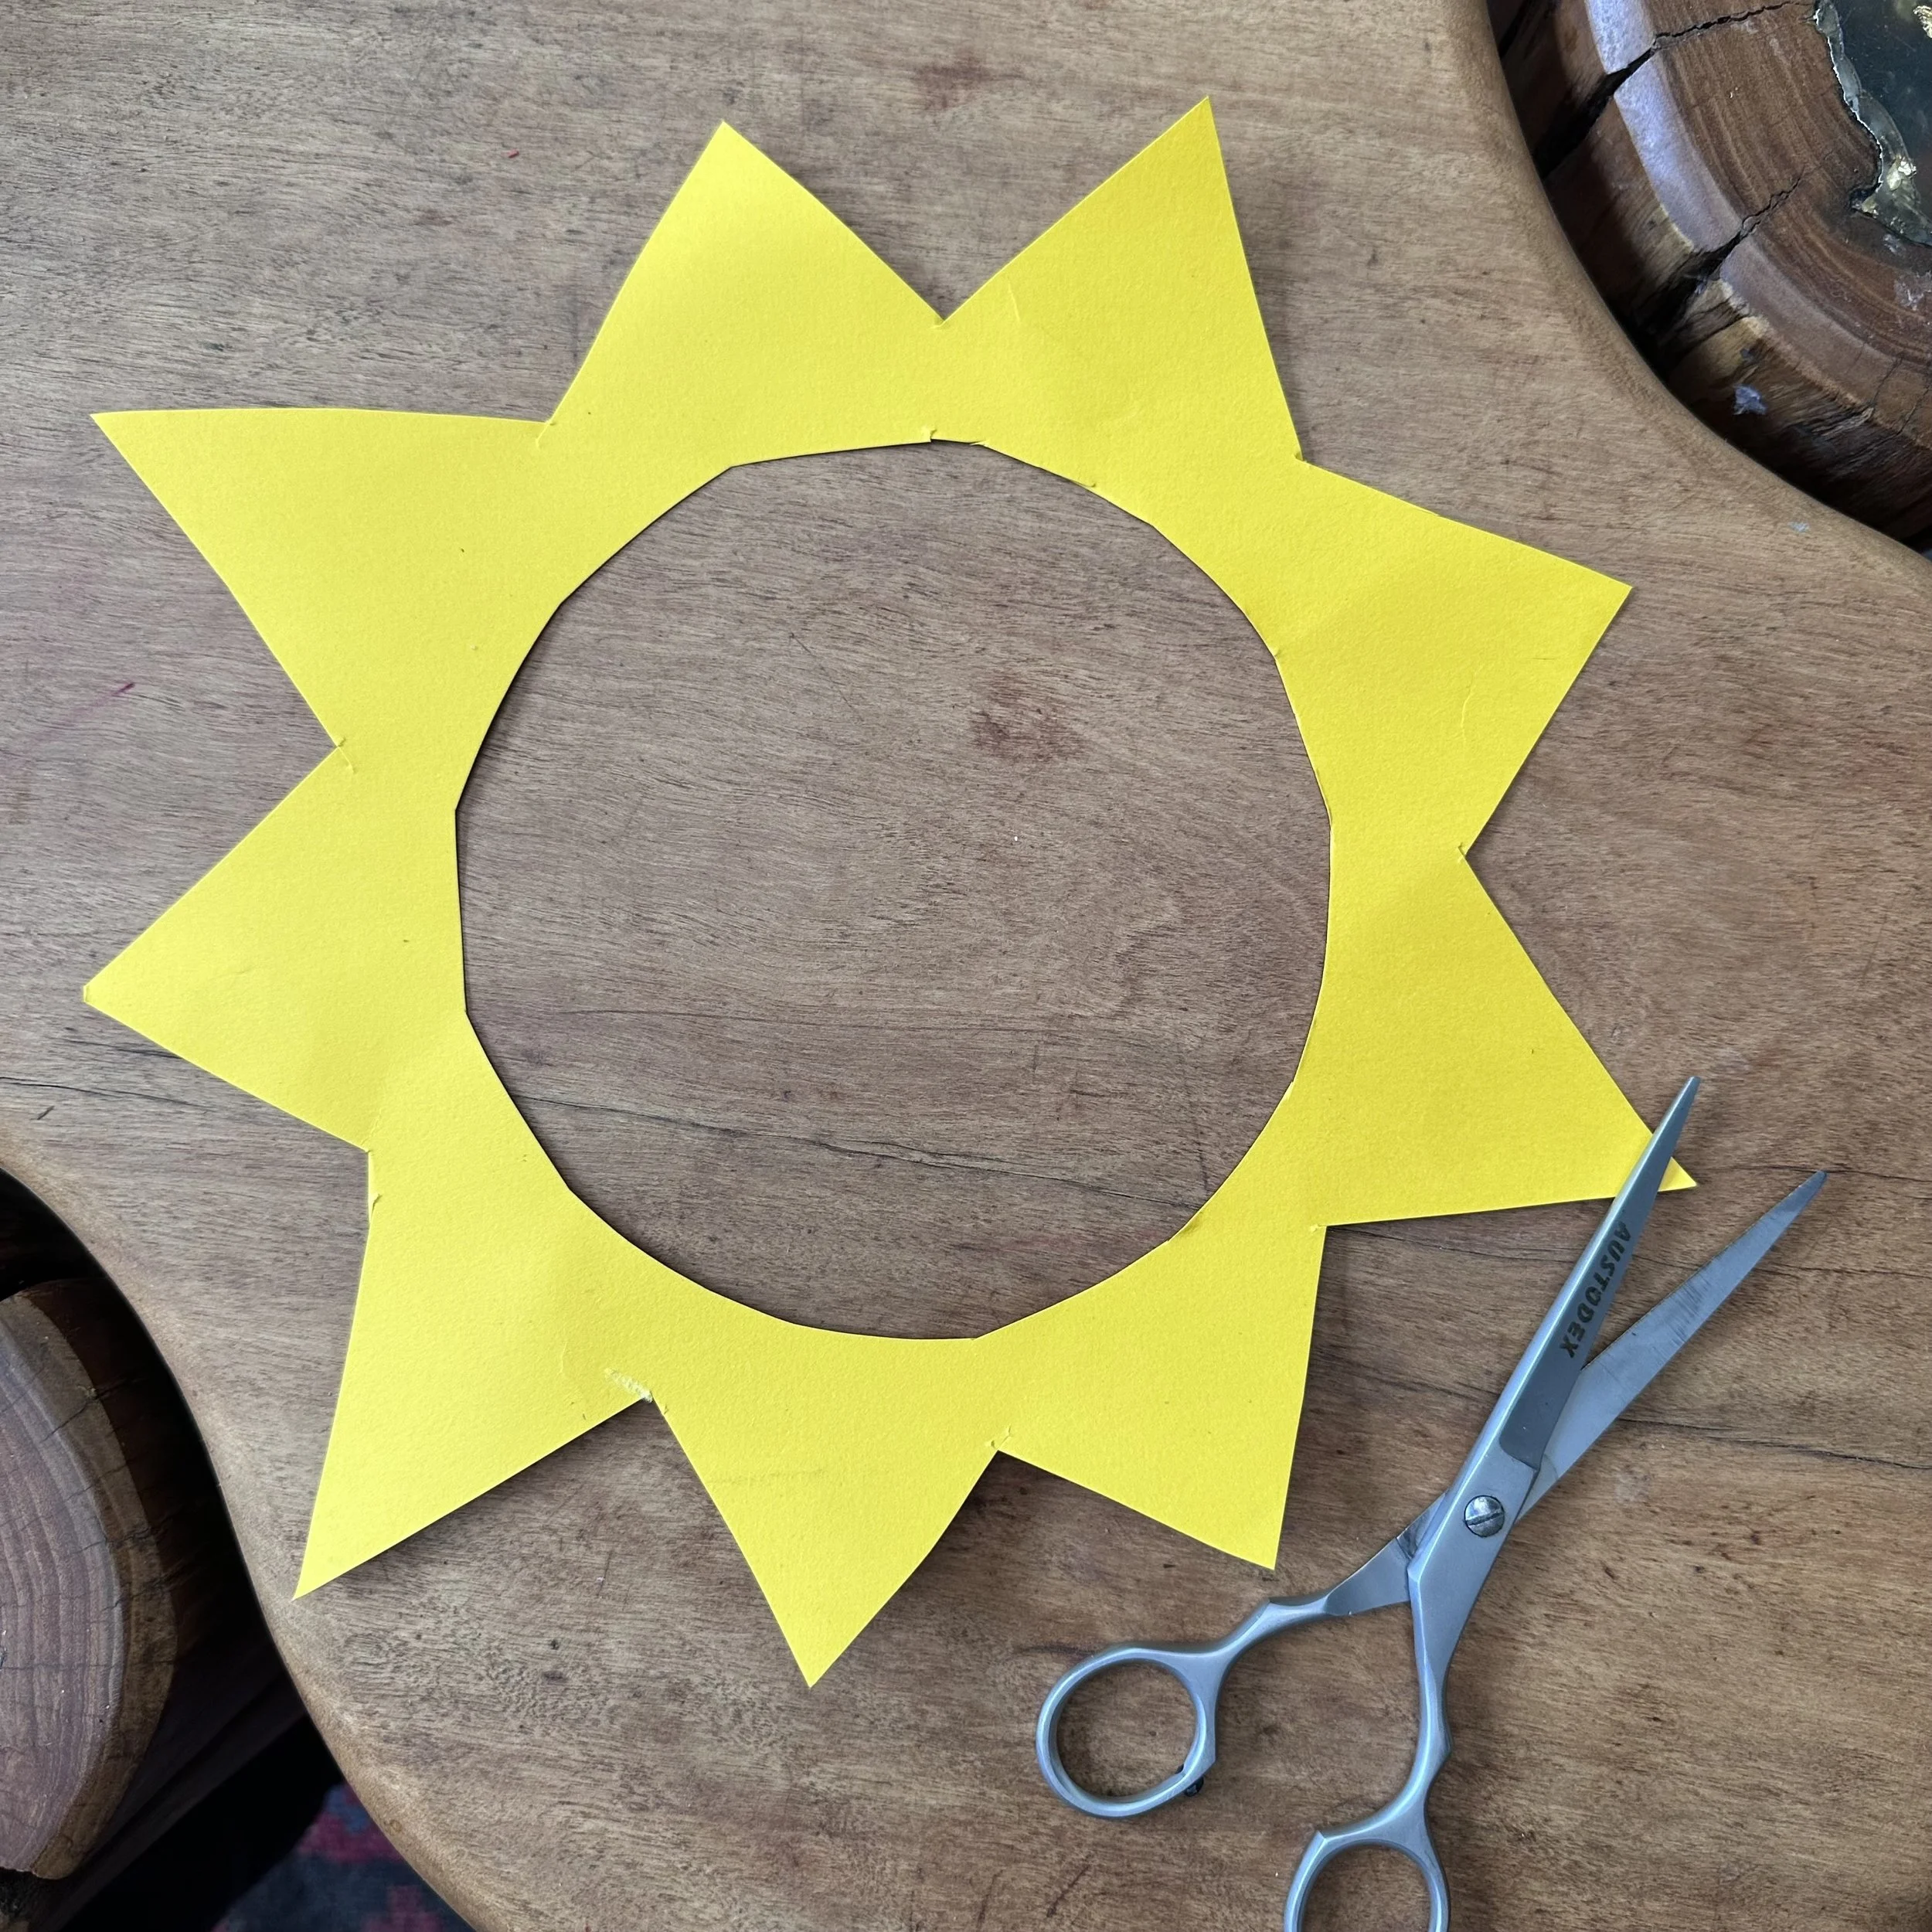
Trace your bowl on the paper (or trace the template below) and cut out the circle. You can either hand trace the sunbeams around the circle or just go for it and see what happens (my favourite way!). Always make sure there is buffer space around the inner circle to which we will later glue the tissue paper (see image 3).
Next we will need to cut out two circular pieces of tissue paper per sun (for either side of the plants). Fold your tissue paper in half and lay it over the cut-out hole in the sun. Trace a line slightly larger than the hole so that you will be able to glue the tissue paper to the sun. Glue one piece of tissue paper to the sun. It is important to glue on the WRONG SIDE or the side that won’t be seen. And now we are ready to have fun!

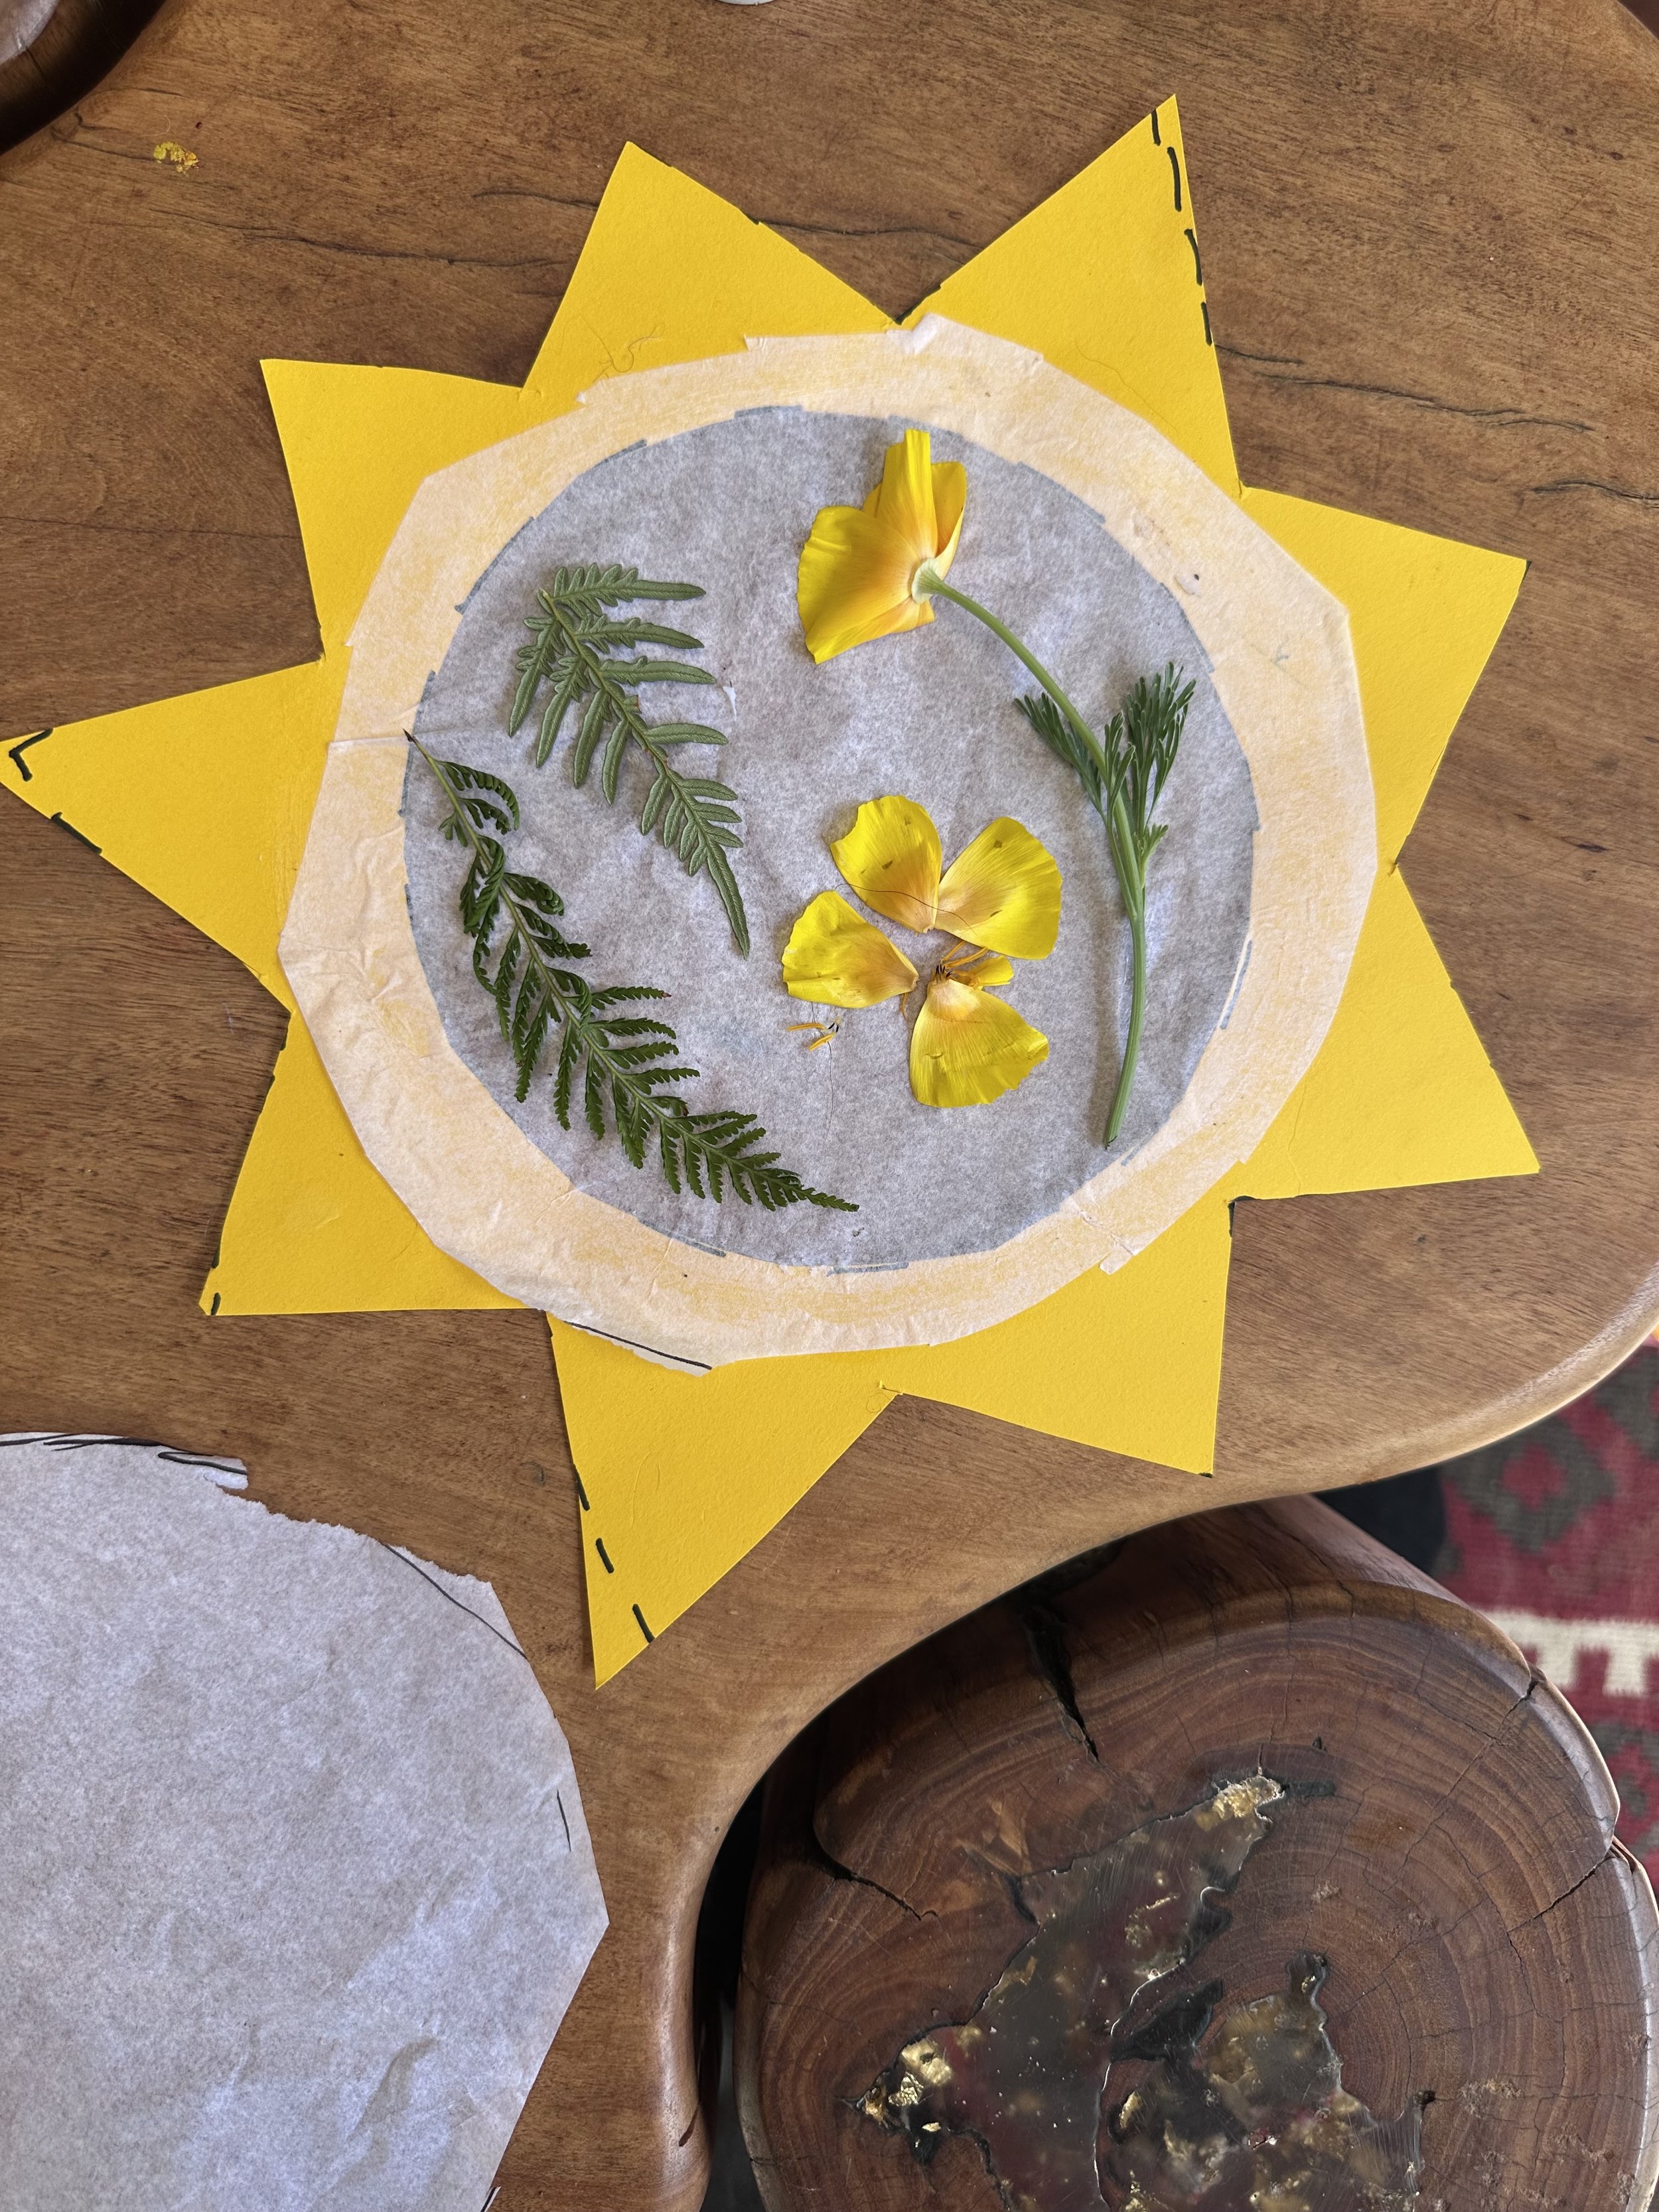


Before you glue anything down, play around with your design until it feels right and you are happy to start glueing. There is no right or wrong with placing the plants and often I am surprised at how simple random designs look once the sun is shining through them.
Once you are happy, you can start to glue them down. You can use as much glue as needed as we will be placing the second piece of tissue paper over the top, and the glue will help to stick it down. When all the plants are glued down, lay some glue around the perimeter and glue the second piece of tissue paper over the top. Press down firmly but gently with your hand to make sure the pieces are sticking well together.
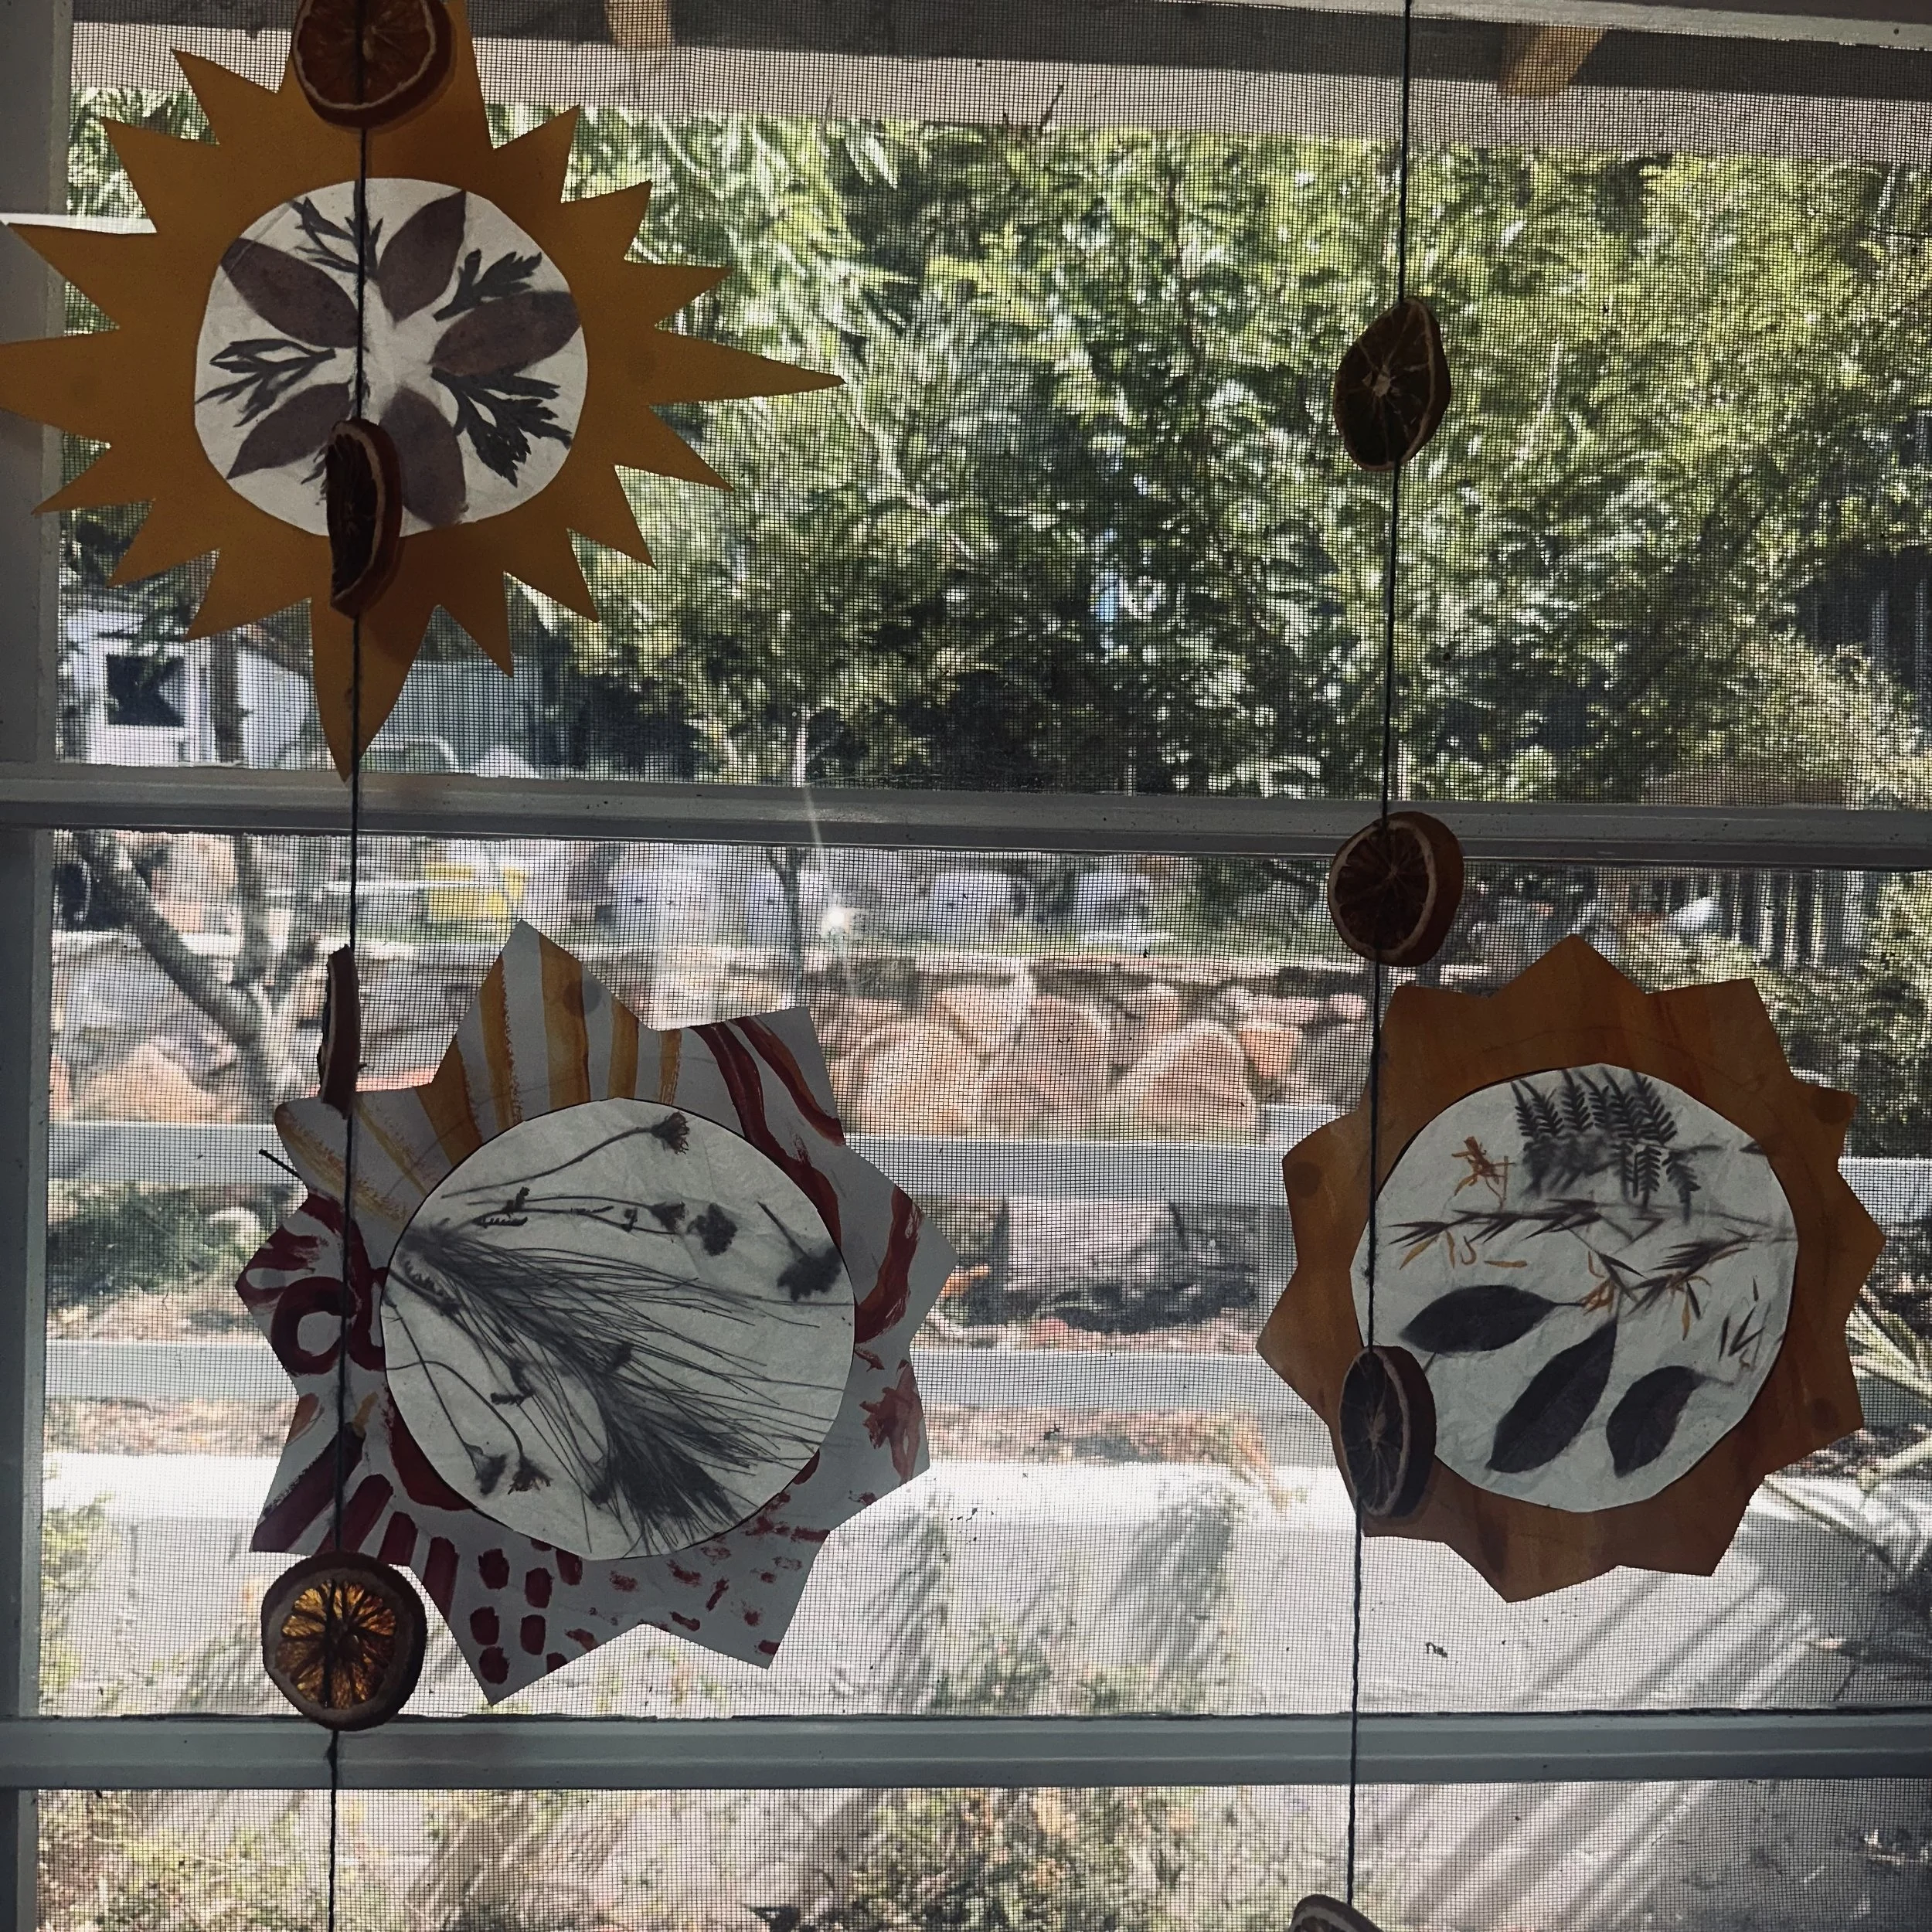
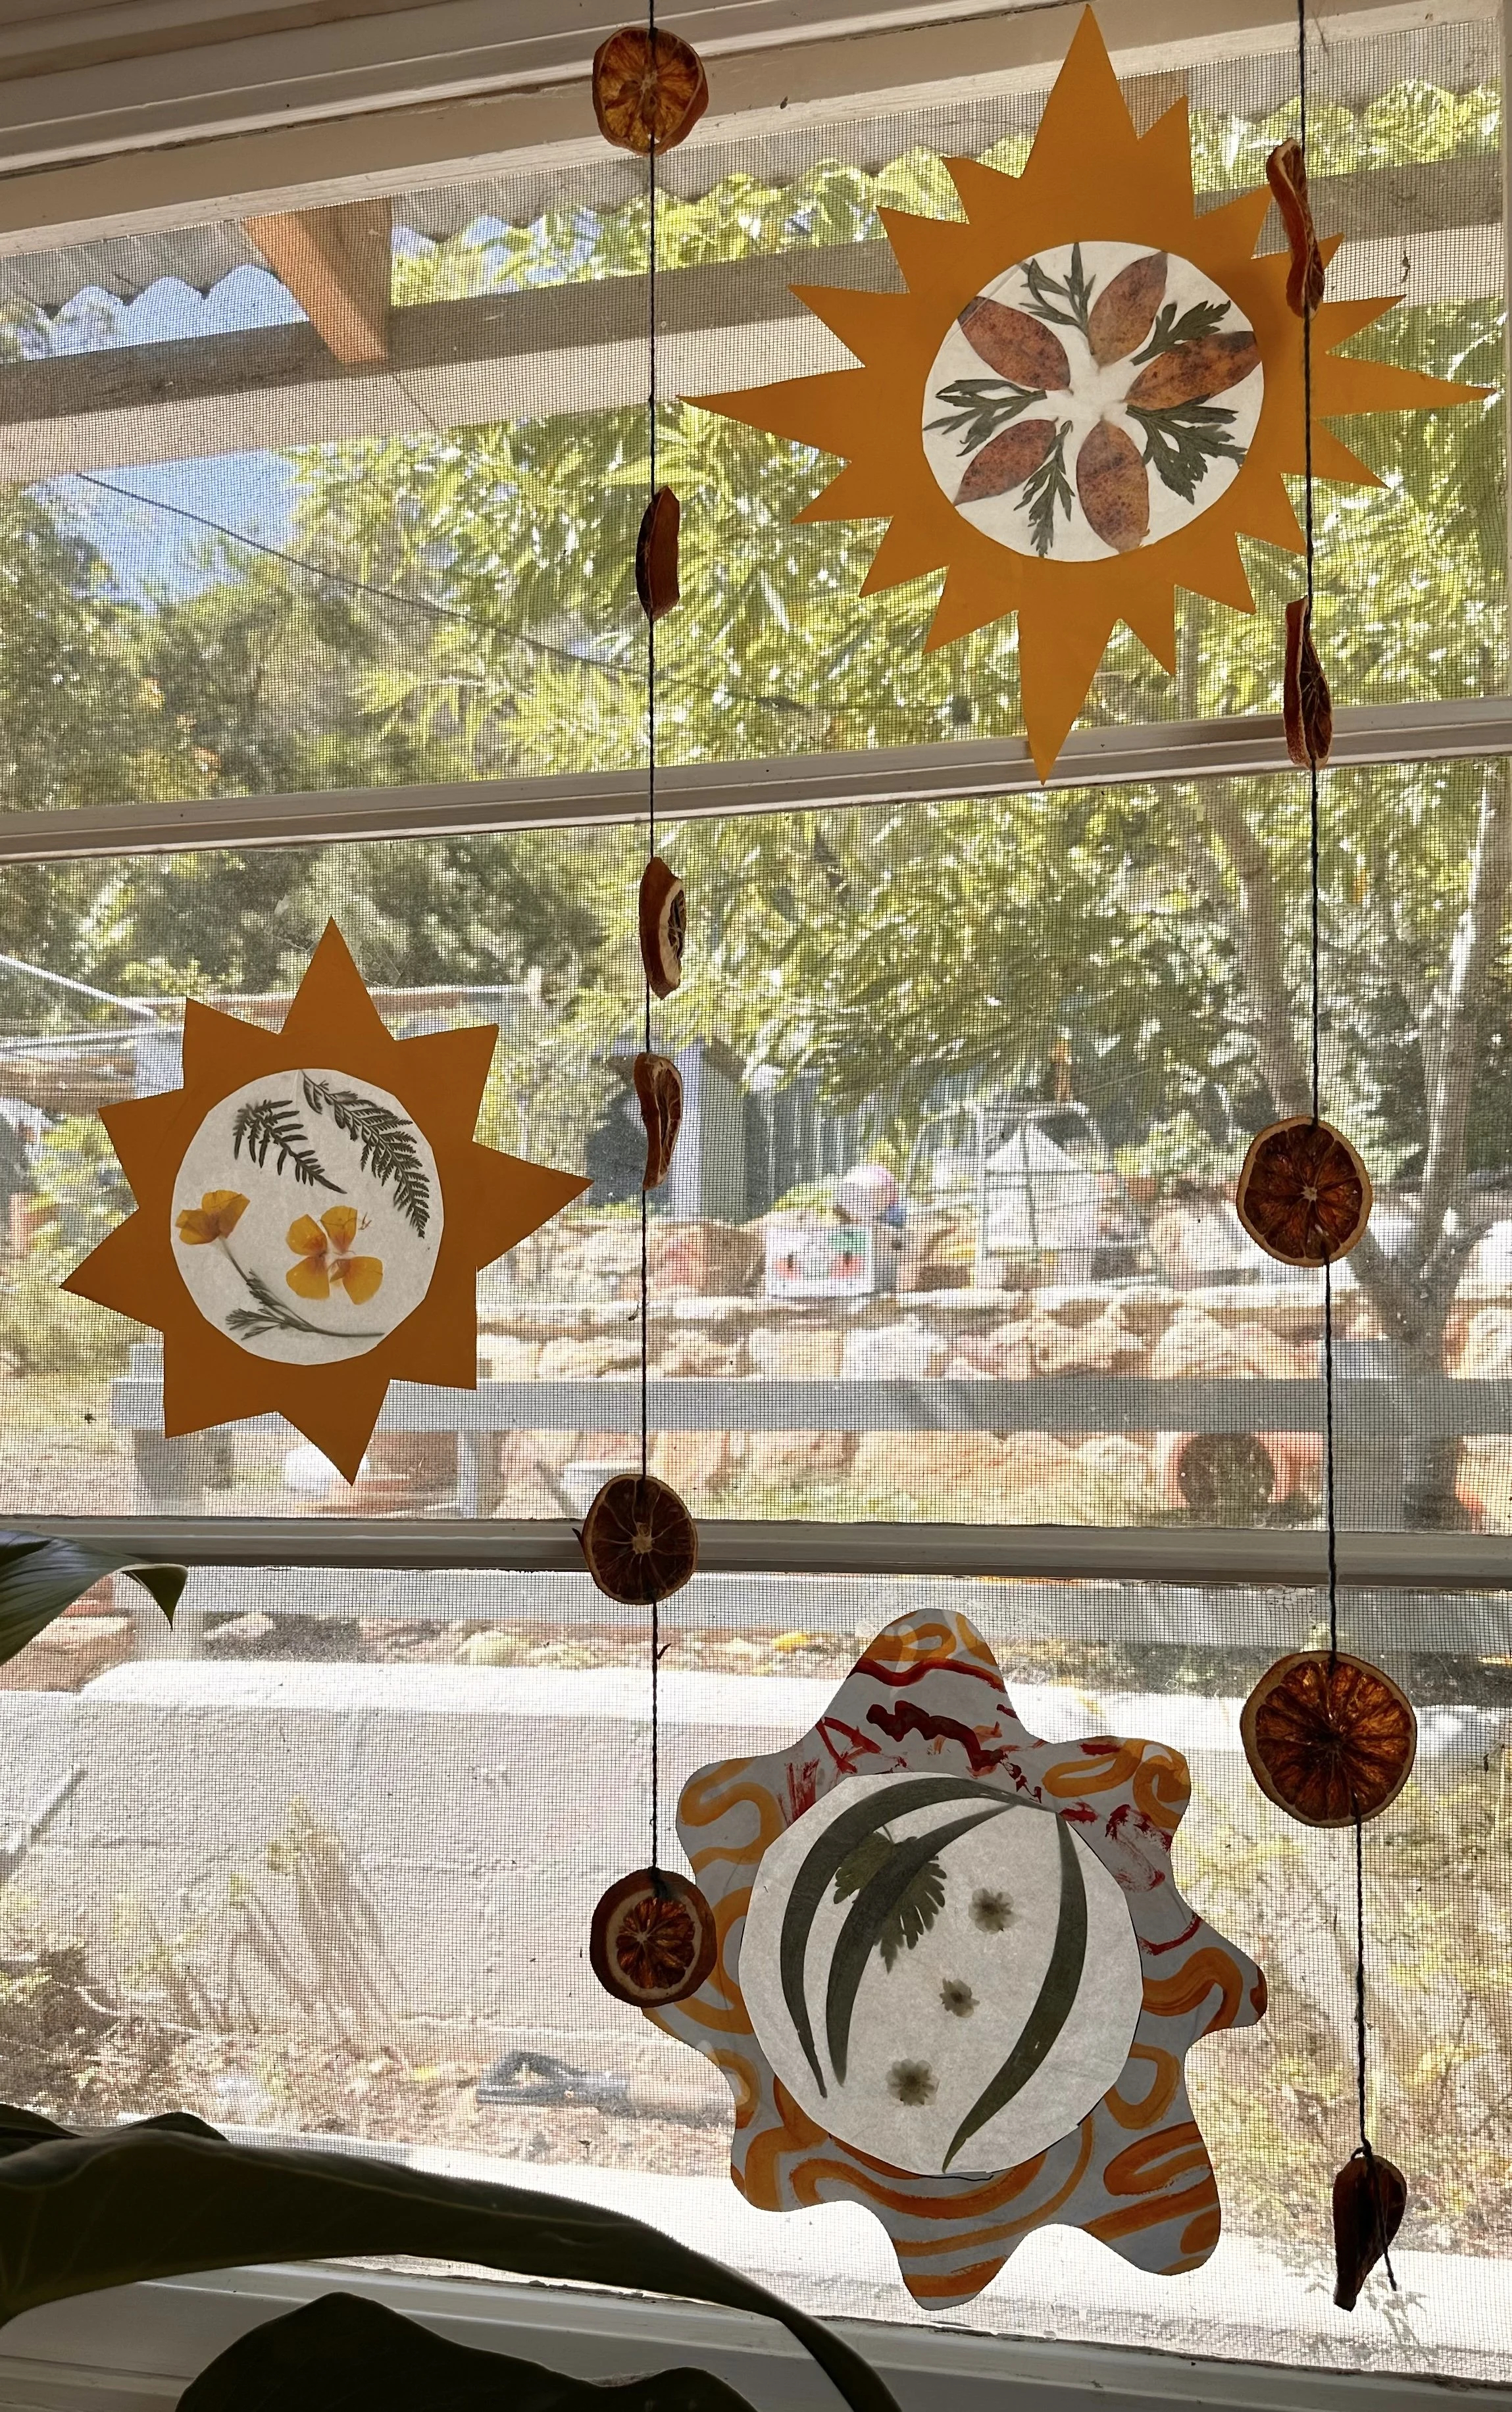
These sun catchers are great gifts and I have also used them as festive cards for friends and family.
Thank you for doing some summer crafts with me and I hope you enjoy them on your windows all through the festive and Summer Solstice celebrations.